Digital signal processor (DSP)
Digital signal processor (DSP) is a special type of microprocessor (or a SIP block), with its architecture optimized for the operational needs of digital signal processing.
Digital Signal Processors (DSP) take real-world signals like voice, audio, video, temperature, pressure, or position that have been digitized and then mathematically manipulate them. A DSP is designed for performing mathematical functions like "add", "subtract", "multiply" and "divide" very quickly.
 |
C6713DSK in CCSv5 |
What is inside a DSP processor?
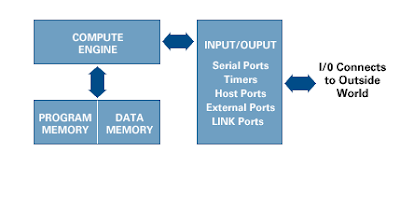
A DSP contains these key components:
- Data Memory: Stores the information to be processed by processor
- Program Memory: Stores the programs which the DSP will use to process data
- Input/Output: Serves a range of functions to connect to the outside world
- Compute Engine:It performs the math processing, accessing the program from the Program Memory and data from Data Memory
Required Softwares
Download board support files from Spectrum Digital Website.Unpack all files to C:\
Download CSL form TI website
Install it at C:\C6xCSL directory
Set all of jumpers on SW3 and SW1 to OFF
Connect USB then connect power
Run 6713SDKDiag.exe from C:\DSK6713\drivers to check emulator connection
Following is a step by step guide to setup a DSP processor using Non real steps CCS v5.3 DSK6713
Step 1
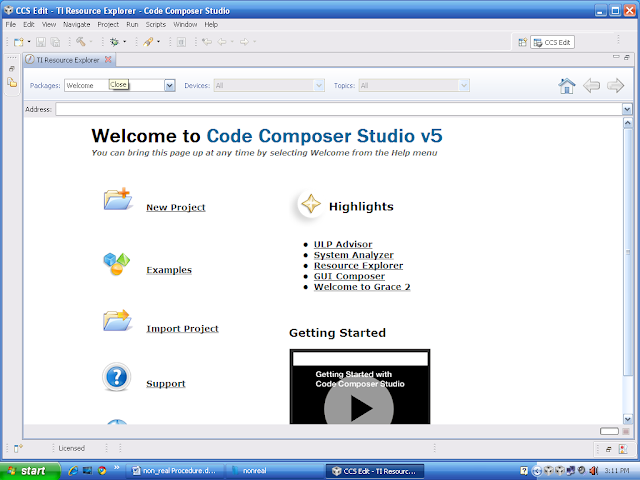
Click on ccs5.3.0 icon as shown below

Workspace window will get open select as default or you can give your location.

Close TI Explorer window
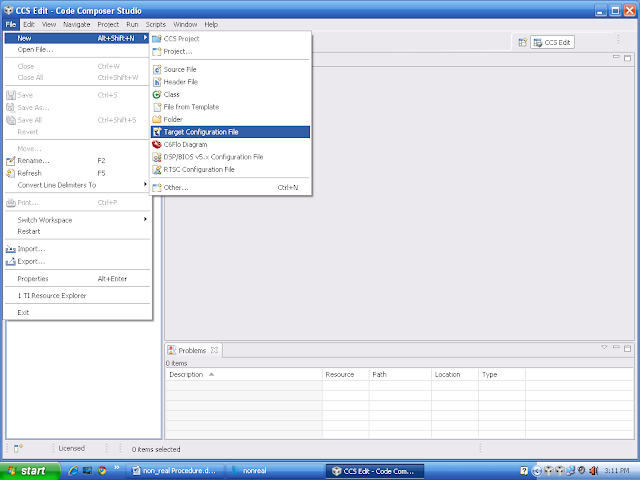
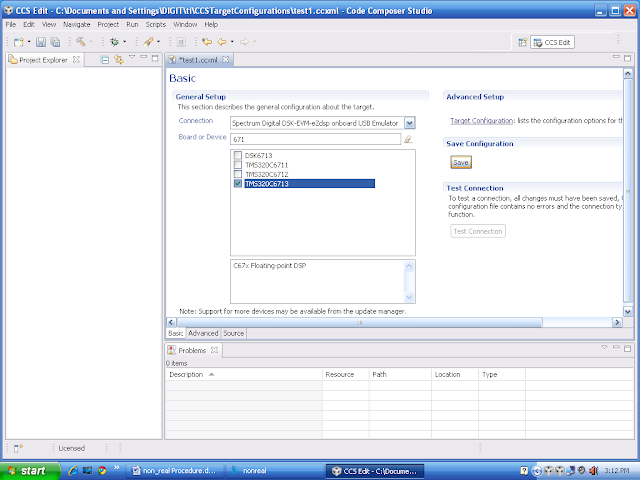
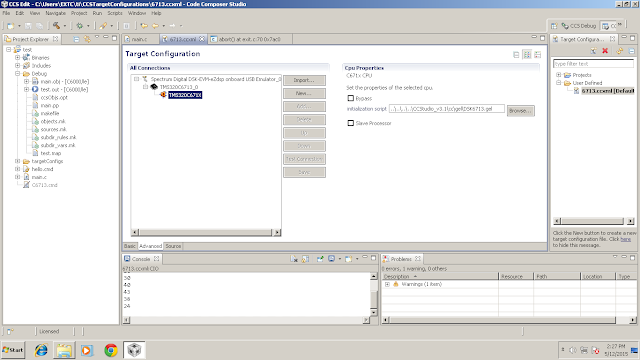
Create new target configuration
File--> new--> targetconfiguration
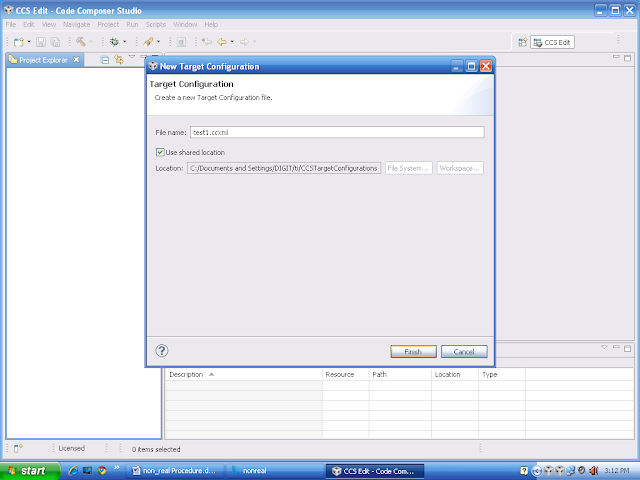
Filename: test1.ccxml
Connection: spectrum digital DSK-EVM-eZdsp on board USB emulator
Board or device: TMS320C6713
Board or device: TMS320C6713
View--> targetconfiguration
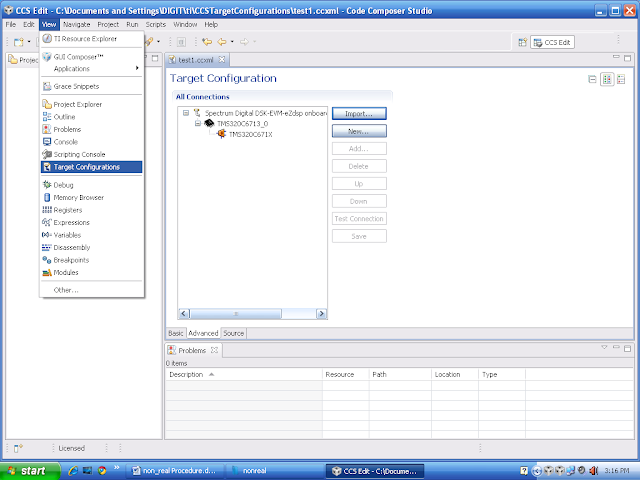
Right click on your target configuration window open at right side, set as sefault
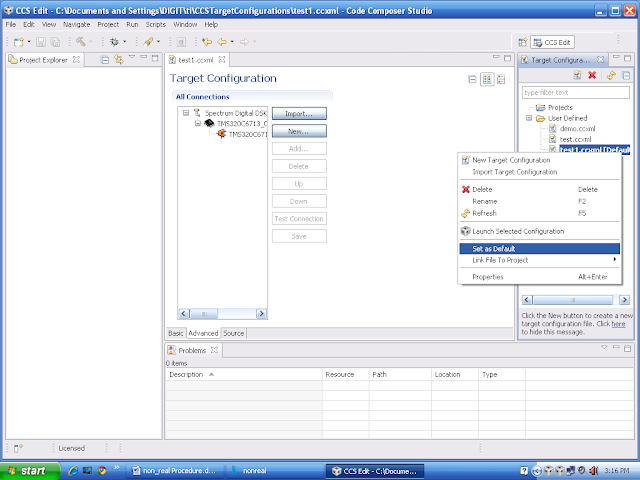
It will jump from edit perspective to debug perspective.
Run --> connect target

Your target is connected.

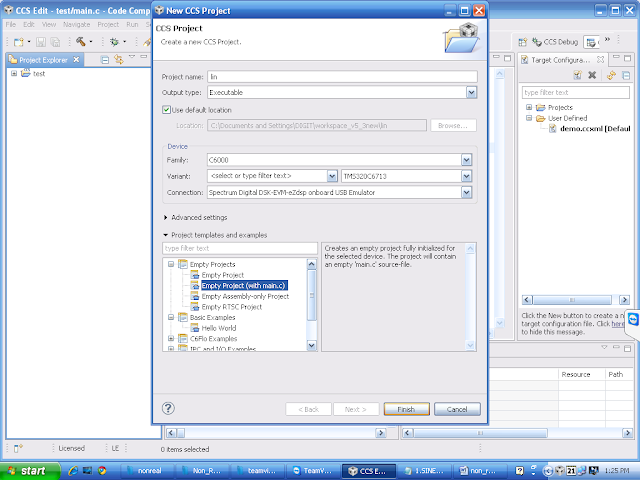
Create new project
File-->new --> ccs project

Select as shown below.
Write the code in main.c file or copy paste.
Right click on project --> build project

It will generate the .out file in debug folder.
Move from edit perspective to debug prospective.

Run --> load -->load program.
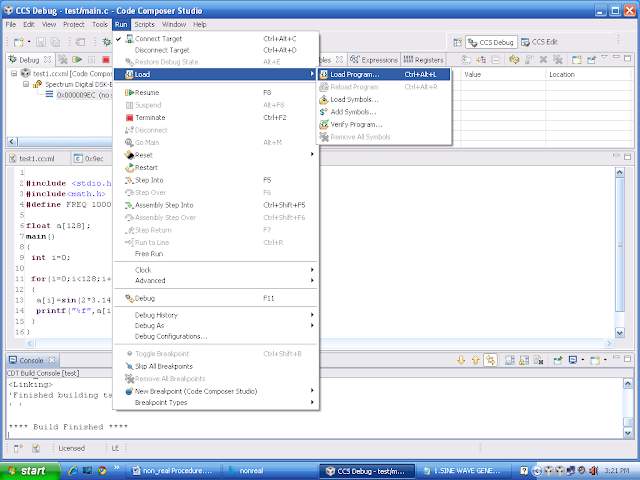
Browse project

Select Debug --> xyz.out
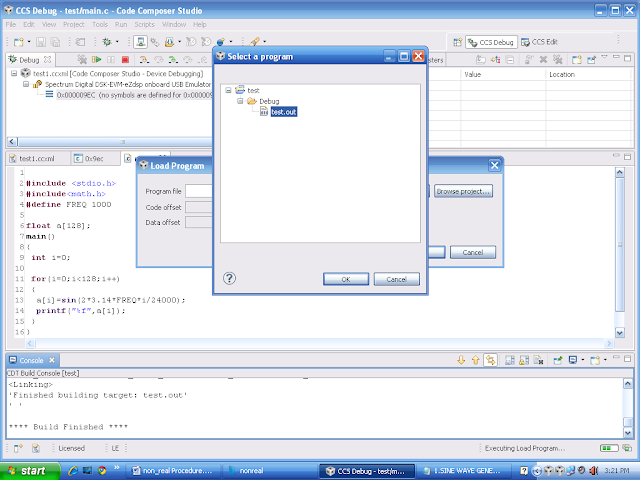
Ok-->ok

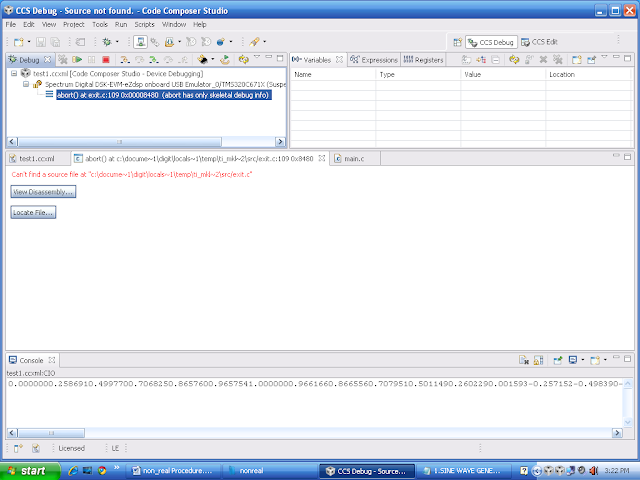
Run --> resume.

See the out put on console.
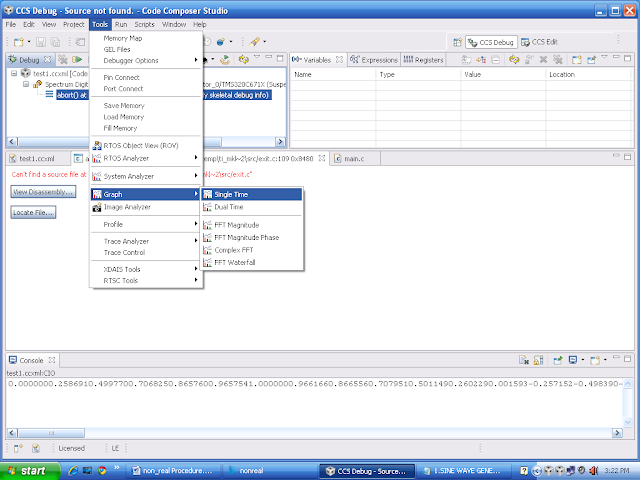
To see graph.
Tools --> graph --> single time.
Selct as shown

Real time
It is same like non real but you need to add BSL and CSL file.
Copy real time codec code to main.c.

Right click on project --> add files

C:\CCStudio_v3.1\C6000\dsk6713\lib\dsk6713bsl.lib

C:\CCStudio_v3.1\C6000\csl\lib\csl6713.lib

Add header file for csl and bsl.
Right click on project properties --> include option
Add dir to #include click on green colour plus sign symbol.
C:\CCStudio_v3.1\C6000\dsk6713\include.
C:\CCStudio_v3.1\C6000\csl\include.

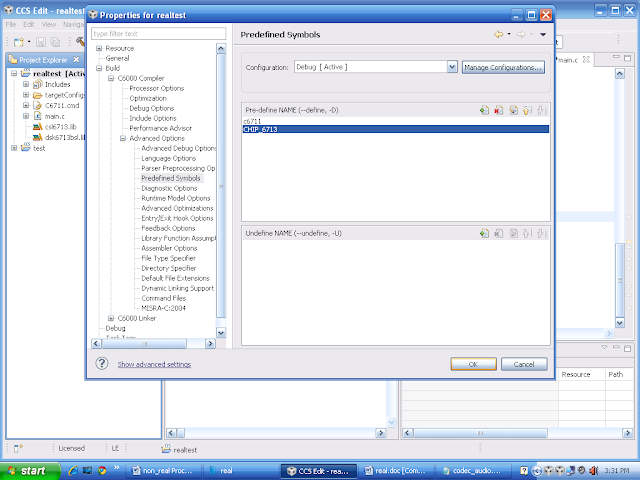
Predefined symbol --> pre-define Name
click on green colour plus sign symbol.
Type CHIP_6713 and save.
Now debug the code and load the .out file to board same like non real procedure.
Possibility error
Install again and again
Disable antivirus or uninstall
Add gel files:
CCStudio_v3.1\cc\gel\DSK6713.gel
Add
Linker command file : C:\CCStudio_v3.1\tutorial\dsk6713\hello1\hello.cmd
and
Run time support libarray: C:/CCStudio_v3.1/C6000/cgtools/lib/rts6700.lib

0 comments:
Post a Comment